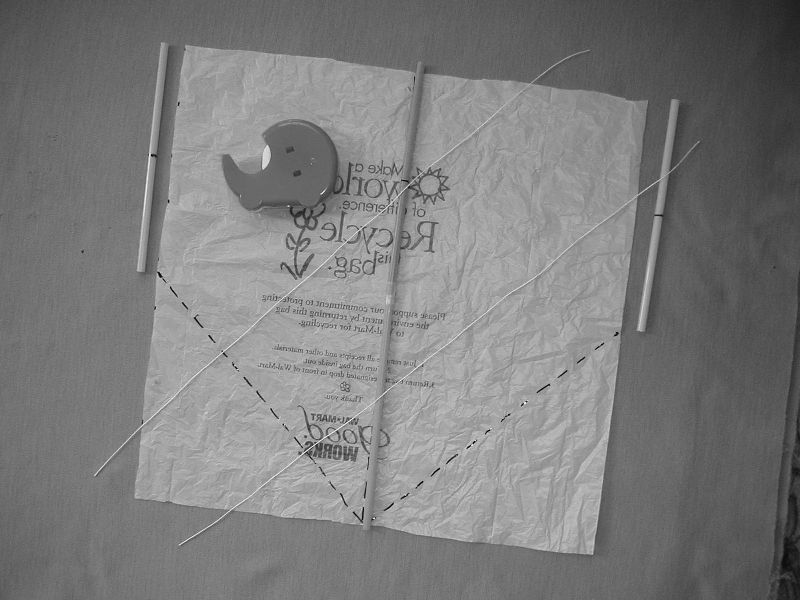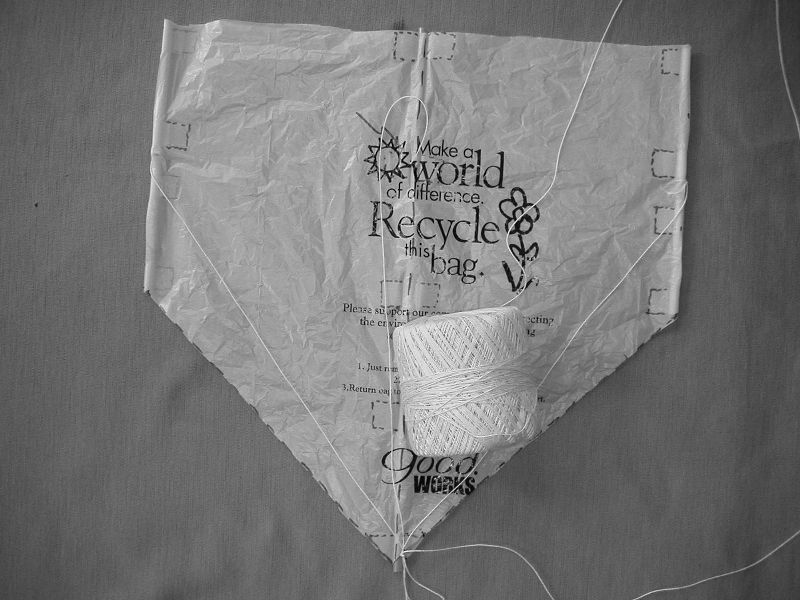
Almost any material can be used. The only consideration is that it be light and flexible. If paper is used, it should be newspaper weight for a one to two foot size kite. If a plastic shopping bag is used, almost any size is fine. Plastic is recommended becauseof its water resistance and ruggedness. Christmas mylar, for wrapping presents, is also attractive.
Sled kites are easy to make and fly because their flexibility allows them to be self-adjusting. If the plastic or paper is too stiff for the size, the shape will be determined by the material instead of the wind. It may be possible to make this kite with stiff paper by adding folds to set the shape, but in the end, it is less stable and needs a stronger wind because of the heavier material.
Straws are an excellent choice. Notice that for the center, two straws are taped together. If light sticks are used, choose two of the same length and cut one in half.
The paper or plastic will be a square two straws, or one stick, wide and high. Click on the Sizing box for detail of making a square.
Fold the down the center where the center stick will be.
Mark the center of each side to the center of the tail where the paper will be cut.
~
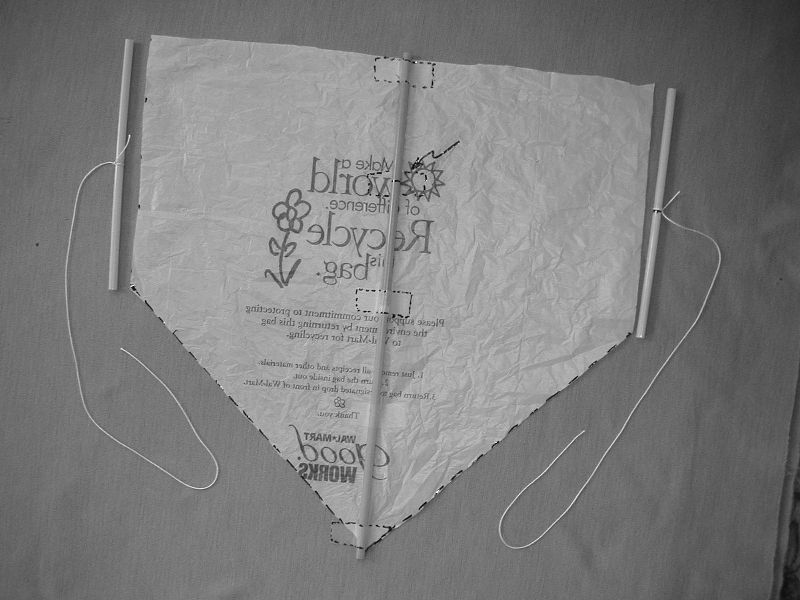
Tie the strings to the center of the short sticks. Looping the string around the stick a couple times will keep the string from slipping.
Cut the paper to make the five-sided shape and tape down the center stick.
The tape at the top straight edge can be simply taped across as shown. The pointed bottom end can be taped across, then the extra folded around to the back side. Also tape in the center, half way to the front, and half way to the back.
~
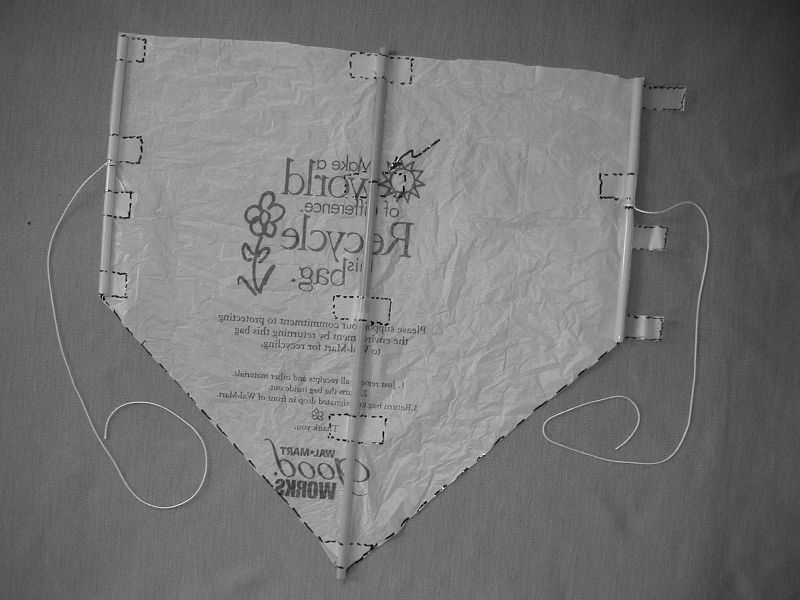
To tape the short straws to the sides, stick the tape to the back side with the sticky side up. The tape must extend out past the edge. Place the sticks on the plastic, just inside the edge and bring the tape up and around over the straw and stick it to the plastic. Use four pieces of tape - top, bottom, and one each side of the string.
~
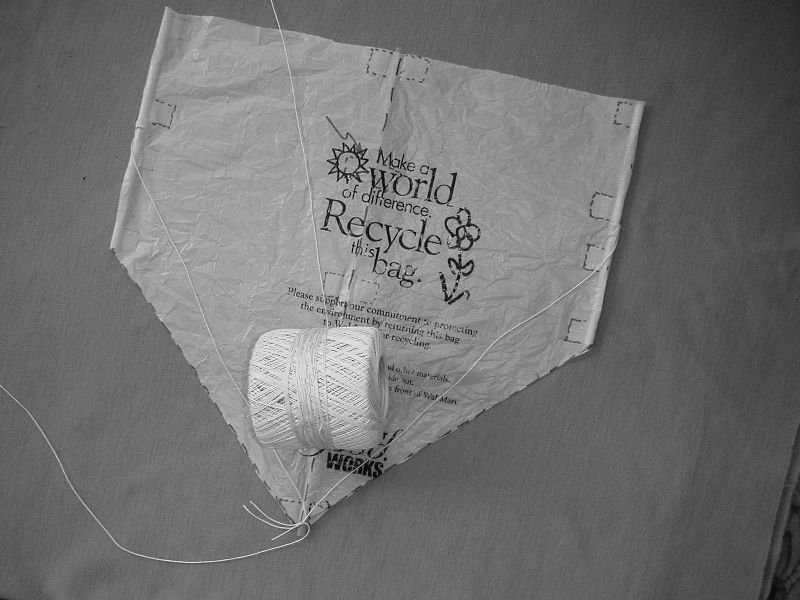
The string lengths are not critical at all. Typically lay the kite out flat and lightly pull the strings to the bottom point and tie. The main ball of string can be tied to the dangling strings. Too long, and the strings can tangle. Too short, and the kite may not blossom in the wind.
THAT'S IT.
~
A third string can be added if very windy days are expected. If adjusted correctly, the flying characteristics will be the same, but the third string will give extra support.
Even with the other strings (one quarter from the top of the stick, or in the middle of the top straw) tie a string and poke it through to the other side. We are looking at the back side of the kite.
~
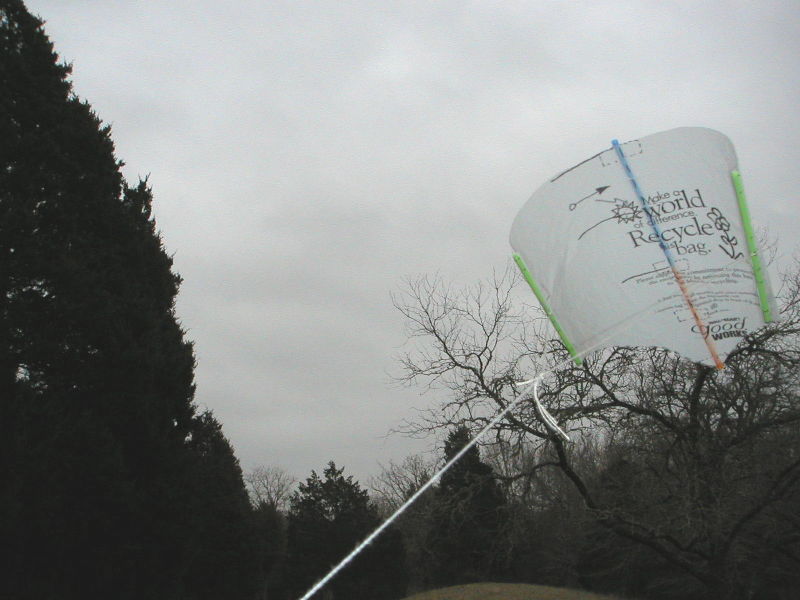
The kite is very easy to fly in a light breeze or heavy winds. Near trees and around buildings there can be a wind vortex. These are nasty for all kites, causing them to dive or fly in low, flat circles. This kite recovers very will just by giving a little slack then perhaps a jerk to help the kite blossom again.
~
Sometimes it is difficult to cut a square piece of paper, especially to a particular size. Begin by taking a piece of paper, or plastic, larger than needed.
Fold the paper up once, and mark the length of a stick, or two straws, on edge of the paper. Then fold it again sideways, evenly along the edges. Use the folded paper to mark the half way point on the stick. Using the marked stick, Mark and cut the other stick in half. (If using straws, this is not necessary of course.)
Using the marked stick or straw, measure in from the folded edges and place marks. Use the stick as a straight edge to draw the square shape. Fold the paper lightly again to find the center of the sticks and mark them.
Cut the paper along the lines just drawn. The paper will be square, and the correct size for this kite.
~
The third string ties in the middle of the top straw, or one quarter down from the top of the center stick. The string length is set by laying the kite flat, as before, and lightly pulling the side strings to the bottom point. The third string should be looped up, half way between where it is tied and the top of the kite, then down to the bottom point. When the kite is flying, it will have a slight "M" shape. Too little doesn't give the support. If too short, the kite will not fly as well. There is nothing critical about the length.
~
Notice that when flying with the third string, the kite has a slight downward dip in the center. It looks more interesting, but seems to do little to the flying ability.
~

